Beautiful Macrame Leaf Patterns – Are you ready to take your macrame skills to the next level? Look no further than the enchanting and versatile macrame leaf patterns. This delightful design can add a touch of nature-inspired elegance to any space, imbuing your crafts with a sense of tranquility and beauty. In this blog post, we will dive deep into the world of macrame leaf patterns, providing you with a comprehensive guide on their history, necessary materials, step-by-step instructions, creative variations, and practical tips to perfect your technique. Whether you are a seasoned macramist or a beginner eager to expand your repertoire, this guide will equip you with everything you need to create stunning macrame leaf patterns.
The History and Charm of Macrame Leaf Patterns
Macrame is an ancient craft that dates back thousands of years. The word “macrame” itself is believed to have originated from the 13th-century Arabic weavers, who used the term “miqrama” to describe the decorative fringes and braids added to their handwoven textiles. Over time, the craft spread throughout different cultures and regions, each adding their own distinct styles and techniques.
The macrame leaf pattern, in particular, has gained popularity due to its natural aesthetic and the symbolism associated with leaves. Leaves represent growth, renewal, and the beauty of nature, making them a favorite motif for macrame artists. Incorporating macrame leaf patterns into your projects can evoke a sense of calm and bring the outdoors inside, making them perfect for wall hangings, accessories, and even jewelry.
Essential Materials for Crafting Macrame Leaf Patterns
Before diving into the step-by-step instructions, it’s crucial to gather the necessary materials. Here’s a list of what you’ll need to start crafting your own macrame leaf patterns:
- Macrame Cord: The type and thickness of cord you choose will significantly impact the appearance and texture of your leaves. Cotton cord is the most popular choice due to its softness, flexibility, and availability in various thicknesses, but you may also experiment with other materials like jute, hemp, or synthetic cords.
- Scissors: A good pair of sharp scissors is essential for cutting your macrame cord to the desired lengths.
- Measuring Tape or Ruler: Accurate measurements are key to ensuring your leaves are symmetrical and evenly sized.
- Comb or Brush: A fine-toothed comb or a sturdy brush will help you separate and shape the cord strands, giving your leaves a refined and polished look.
- Stick or Dowel: Using a stick or dowel to support your macrame work will provide stability and make the knotting process much easier.
- Optional Decorative Items: Feel free to add your personal touch by incorporating beads, feathers, or other decorative elements into your macrame leaf patterns.
How to Make a Macrame Leaf Pattern: Step-by-Step Instructions
Now that you have gathered your materials, let’s dive into the step-by-step process of creating macrame leaf patterns.
Step 1: Prepare Your Cords
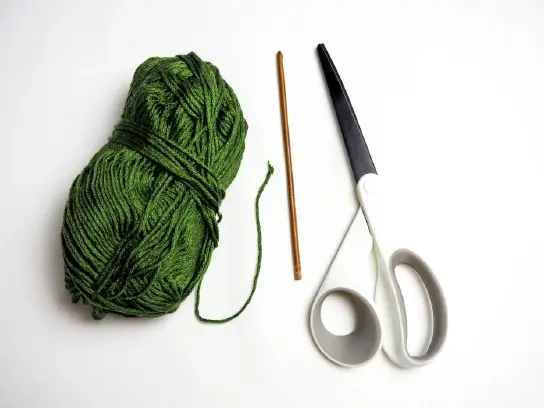
- Cut three lengths of macrame cord: one longer piece (the spine of the leaf) and two shorter pieces for the leaf blades. The length of the cords will vary depending on the desired size of your leaf, but for a medium-sized leaf, you may use the following measurements:
- Spine Cord: 24 inches (60 cm)
- Blade Cords: 12 inches (30 cm) each
- Fold the spine cord in half and create a Lark’s Head Knot by placing the folded end over the stick or dowel and pulling the loose ends through the loop. Tighten the loop to secure the spine cord in place.
- Attach the blade cords to the spine cord using Double Half Hitch Knots. To do this:
- Fold one blade cord in half and place it under the spine cord.
- Pull the loose ends up and through the loop created by the folded blade cord.
- Slide and tighten the knot to secure it close to the top of the spine cord.
- Repeat this process with the second blade cord, attaching it right below the first blade cord.
Step 2: Begin the Macrame Leaf Pattern
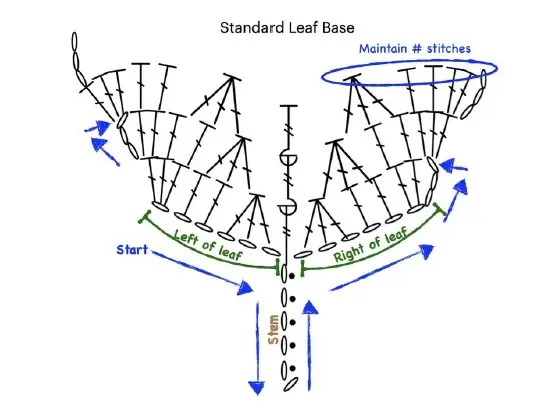
- Take the left blade cord (Cord A) and cross it over the spine cord, forming a loop on the left side.
- Take the right blade cord (Cord B) and place it over Cord A, then bring it under the spine cord and through the loop created by Cord A on the left side.
- Pull both blade cords tight to form the first half of a Square Knot.
- Repeat the process by starting with Cord B this time, forming a loop on the right side, and threading Cord A through it, creating the second half of the Square Knot.
- Continue making Square Knots, alternating the starting cord each time to create a balanced and even pattern, until you reach the desired length for your leaf. The number of knots you make will depend on the size and thickness of your cords, but a good starting point is around 10-15 knots.
Step 3: Shape and Trim Your Macrame Leaf
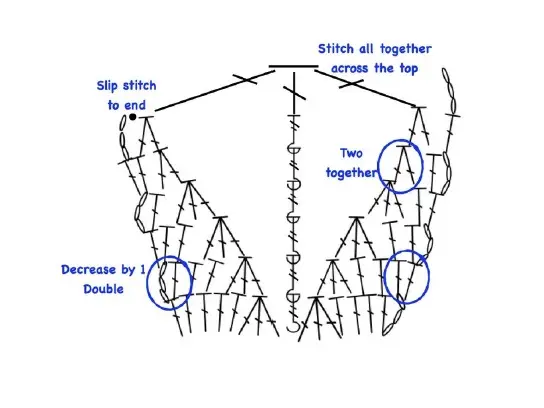
- Once you have completed your knots, it’s time to shape your leaf. Comb or brush the blade cords to separate and straighten the strands, giving the leaf a fuller and more defined appearance.
- Using your scissors, trim the blade cords at an angle to mimic the natural shape of a leaf. You can experiment with different shapes, such as pointed or rounded tips, to achieve the look you desire.
- If you want to add extra flair, consider fraying the ends of the blade cords by unraveling the strands slightly with a comb or your fingers.
Step 4: Secure and Finish
- To ensure your macrame leaf pattern stays in place, you can apply a small amount of fabric glue or clear nail polish to the ends of the knots. This will prevent them from coming undone over time.
- If you are making multiple leaves for a larger project, repeat the steps above for each leaf and arrange them as desired. You can attach the completed leaves to a main piece of macrame, create a garland, or use them as standalone decorations.
Creative Variations of Macrame Leaf Patterns
The beauty of macrame lies in its versatility and the endless possibilities for creative expression. Once you have mastered the basic macrame leaf pattern, you can experiment with various techniques and designs to create unique and personalized pieces. Here are some creative variations to inspire you:
1. Multi-Colored Leaves
Add a pop of color to your macrame leaf patterns by using different colored cords for the spine and blade sections. You can create a gradient effect, alternate colors, or use contrasting hues for a bold and vibrant look.
2. Beaded Leaves
Incorporate beads into your macrame leaf patterns to add texture and dimension. You can thread beads onto the blade cords before making the knots or attach them to the ends of the blade cords for a decorative finish.
3. Layered Leaves
Create a cascading effect by making leaves of different sizes and layering them on top of each other. This technique works beautifully for wall hangings and gives your macrame project a three-dimensional, dynamic appearance.
4. Leaf Garlands
String multiple macrame leaves together to form a garland. This decoration is perfect for weddings, parties, or adding a whimsical touch to your home decor. You can vary the sizes and shapes of the leaves to create an eye-catching display.
5. Macrame Leaf Jewelry
Why stop at wall hangings? Macrame leaf patterns make stunning jewelry pieces! Create smaller leaves and attach them to earrings, necklaces, or bracelets for a nature-inspired accessory that showcases your macrame skills.
Tips and Tricks for Perfecting Your Macrame Leaf Patterns
Like any craft, practice makes perfect when it comes to macrame. Here are some tips and tricks to help you refine your technique and create flawless macrame leaf patterns:
1. Maintain Consistent Tension
Consistent tension is key to achieving neat and even knots. As you work on your macrame leaf patterns, be mindful of the tension you apply to the cords. Too tight knots can make your leaf stiff and difficult to shape, while too loose knots can result in an uneven appearance.
2. Use a Tension Board
A tension board can be a valuable tool for macrame artists, especially when working on larger projects or intricate patterns. The board helps you keep your cords taut and even, ensuring your knots are uniform and your design is symmetrical.
3. Experiment with Cord Thickness
The thickness of your cords can significantly impact the final look of your macrame leaf patterns. Thicker cords create a more substantial and textured appearance, while thinner cords result in a delicate and intricate design. Experiment with different cord thicknesses to find the one that best suits your desired aesthetic.
4. Take Your Time
Macrame is a meticulous and patient craft. Rushing through the process can lead to mistakes and uneven knots. Take your time, enjoy the process, and focus on creating each knot with care and precision.
5. Practice, Practice, Practice
The more you practice making macrame leaf patterns, the more comfortable and skilled you will become. Start with simple designs and gradually challenge yourself with more complex patterns. With dedication and practice, you will see improvement in your technique and confidence in your macrame abilities.
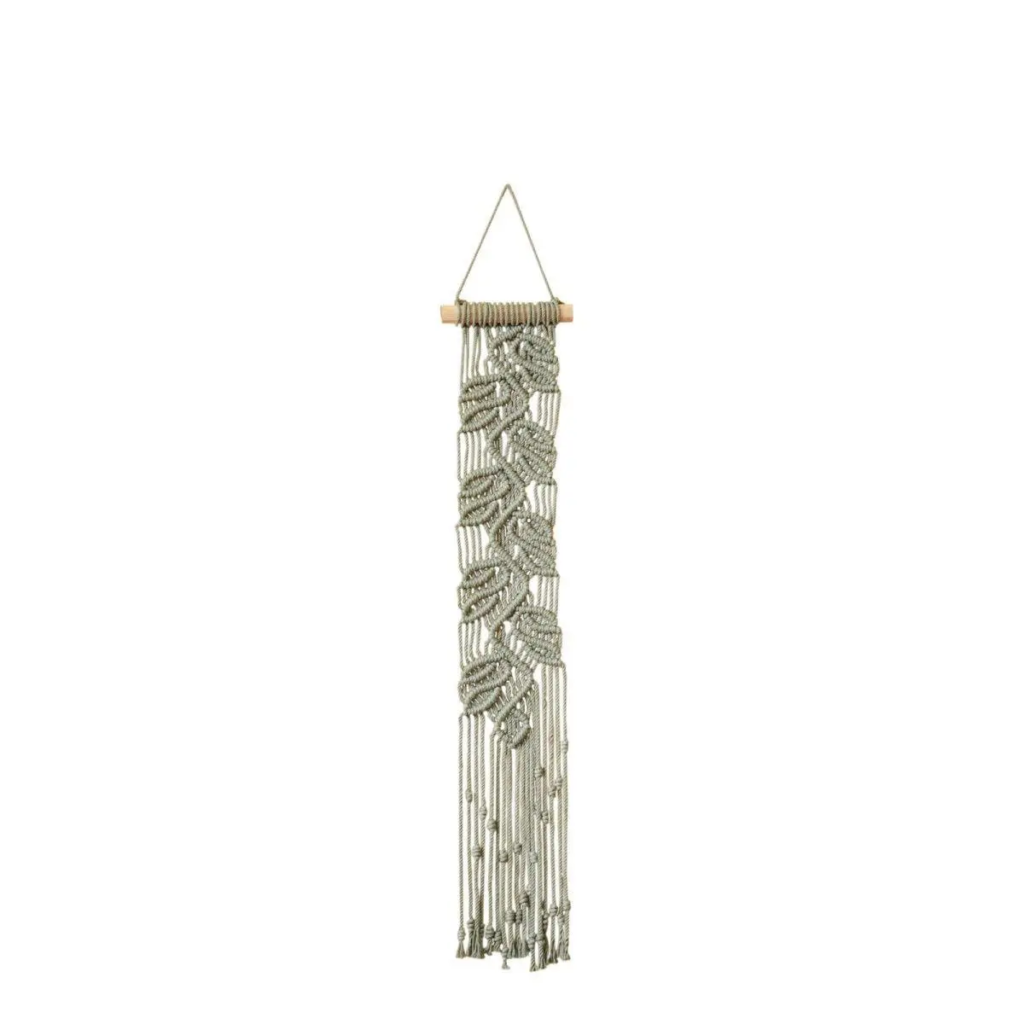
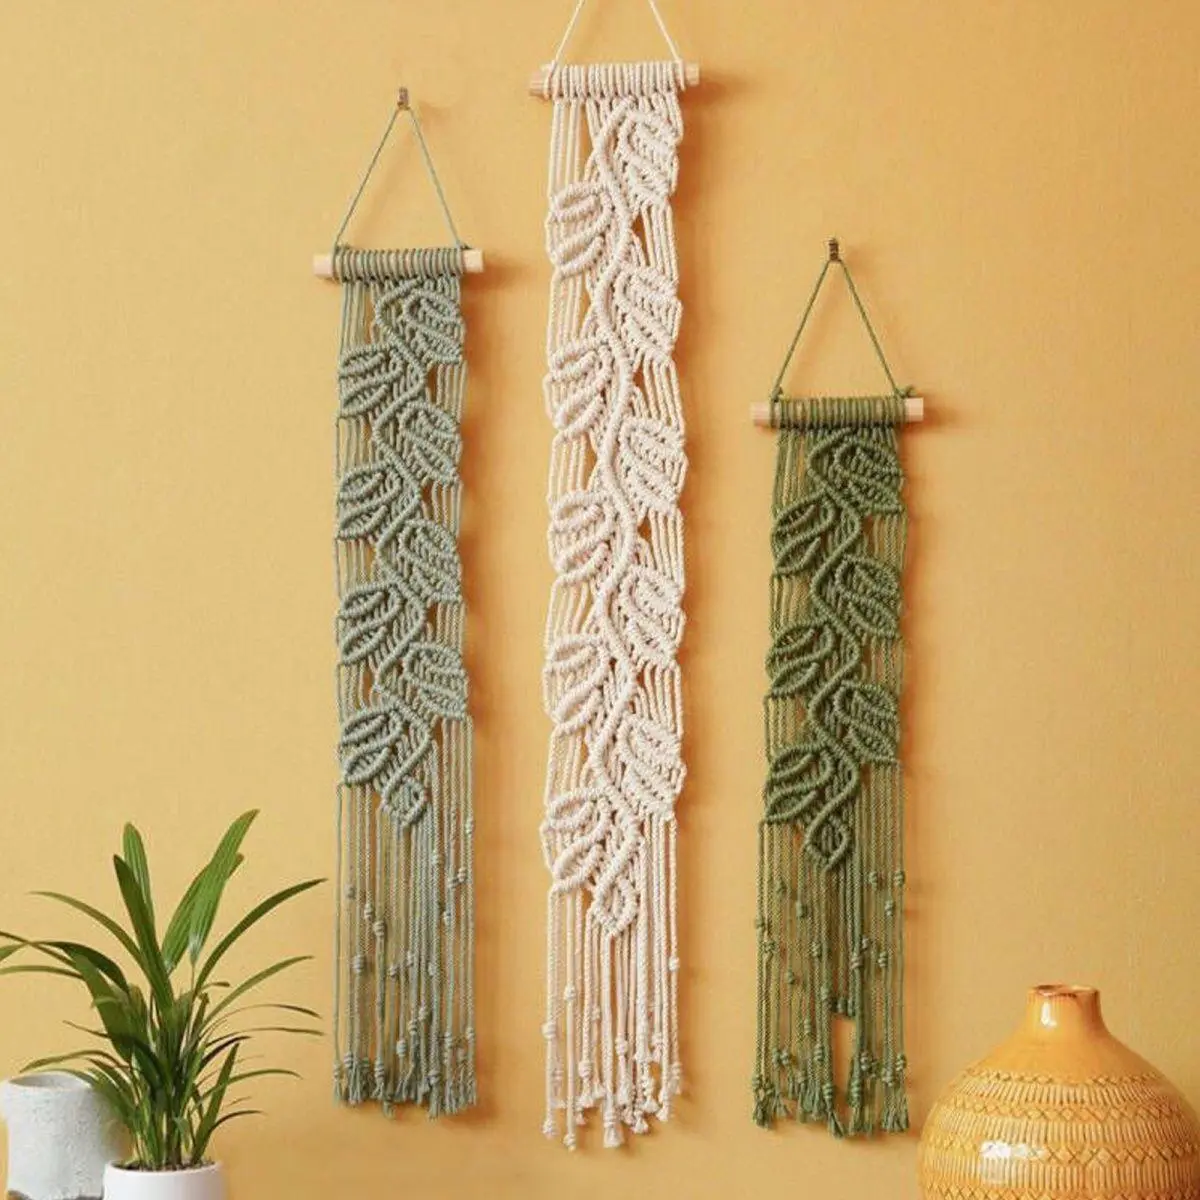
Long Leaves Hand Woven Wall Hanging Macrame
Long Leaves Hand Woven Wall Hanging Macrame—a perfect blend of modern design and traditional craftsmanship. This exquisite piece is masterfully woven from 100% high-quality cotton, ensuring durability while bringing a touch of nature-inspired beauty into your home.
Conclusion
Macrame leaf patterns offer a delightful and versatile addition to your crafting repertoire. With their natural beauty and symbolic meaning, these patterns can enhance any macrame project, bringing a touch of nature-inspired elegance to your creations. By following the step-by-step instructions, experimenting with creative variations, and applying practical tips, you can master the art of macrame leaf patterns and create stunning pieces that showcase your craftsmanship.
Whether you are crafting wall hangings, accessories, or jewelry, the possibilities with macrame leaf patterns are endless. So gather your materials, find your inspiration, and let the art of macrame leaf patterns elevate your creative journey. Happy knotting!

